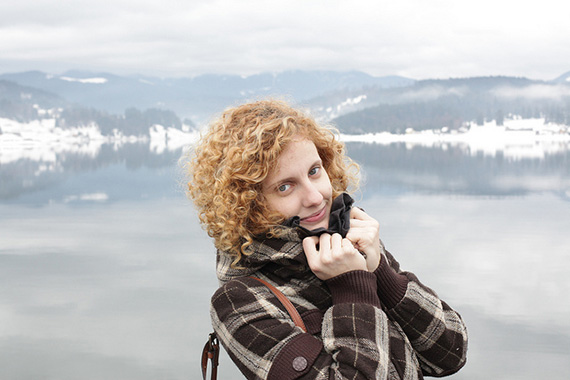
Have you ever been in the position where your shutter finger is just itching to take some photos? You look outside and the weather is overcast and the sun is nowhere to be found. Take heart; you don’t always need the sun. Here’s why.
photo by Tuncay
I was always lead to believe that if there was no sun, then there wasn’t an opportunity for good photography. So during the winter months and overcast summer or spring days I had to find another hobby, or so I thought. That’s not true and I’ll show you why.
1. Shooting outdoors on overcast days
If you’ve never tried it, then go out and do it. You’ll be surprised at the photos you take. Why? Because the clouds act as one big filter resulting in a soft and even light. The harsh shadows you sometimes see in your sunny day images are just not there. There’s no glare in the subject’s eyes and it can look as if the photo has been taken by a professional.

photo by Cristian Bortes
Check that your white balance is set to cloudy if you aren’t shooting on automatic. Although you get really good photos on a cloudy day, it is more suited for smaller scenes, close-ups and portraits. Landscapes don’t do that well on cloudy days.
2. Sunny days
Bright sunny days are not always the best time to take good photos. Too much bright light can be a bad thing so you need to know what time of day is best. When it’s sunny you’d probably find that around midday is not the best time to shoot any images. The lighting is directly from above and very harsh.
Shadows fall below the eyes in a portrait and can result in an ugly image. Unless you’re looking for very specific lighting effects for buildings and similar subjects, don’t shoot between 11am and 1pm.
photo by Catrin Austin
Early to mid-morning and late afternoon are the best times for shooting on sunny days. Lighting is from the side, the contrast is great, and the atmosphere created by light that is more golden is amazing.
Besides shooting sunsets and sunrises, virtually any type of image will look great. A key here is to use bright shade for portraits and other people shots. It gives the same effect as a cloudy day.
3. Shooting indoors
There is no bad time when shooting indoors, as you always have control of the light when using flash or strobes. But flash isn’t the greatest light to shoot by even if you do have total control. Using available natural light will always give you a great image. So what’s the best way? Find a place inside with a large window that allows a good amount of light to enter the room.
Place your subject in the area where most of this light falls. If you find that the opposite side of the subject is too dark, use a reflector which, can be a large piece of card, a white board, or a bed sheet draped just outside the view of the camera lens. Experiment to find the best subject placement. Sometimes the darker side of the image will make the overall image really stunning.
photo by Eric Hossinger
So, there’s always a time to take an image, and key to this is make the best possible use of available light. You may not be able to shoot the image you have in mind but you’ll still be able to create an image that’s stunning. You won’t necessarily get it right the first time; be prepared to experiment and try different placements and angles, and I can assure you that you’ll come up with something great.
About the Author:
Wayne Turner has been teaching photography for 25 years. Passionate about photography, radio and video, he is a Radio CCFm producer and presenter in Cape Town.
Go to full article: Adapting to Weather and Time of Day as a Photographer
What are your thoughts on this article? Join the discussion on Facebook
PictureCorrect subscribers can also learn more today with our #1 bestseller: The Photography Tutorial eBook
The post Adapting to Weather and Time of Day as a Photographer appeared first on PictureCorrect.
from PictureCorrect https://ift.tt/2XAnXBU
via IFTTT


0 comments:
Post a Comment